To help you build a route, the Route Builder can show an elevation profile of the route as you are building it. The profile can be displayed by clicking the “Elevation profile” checkbox in the menu bar:
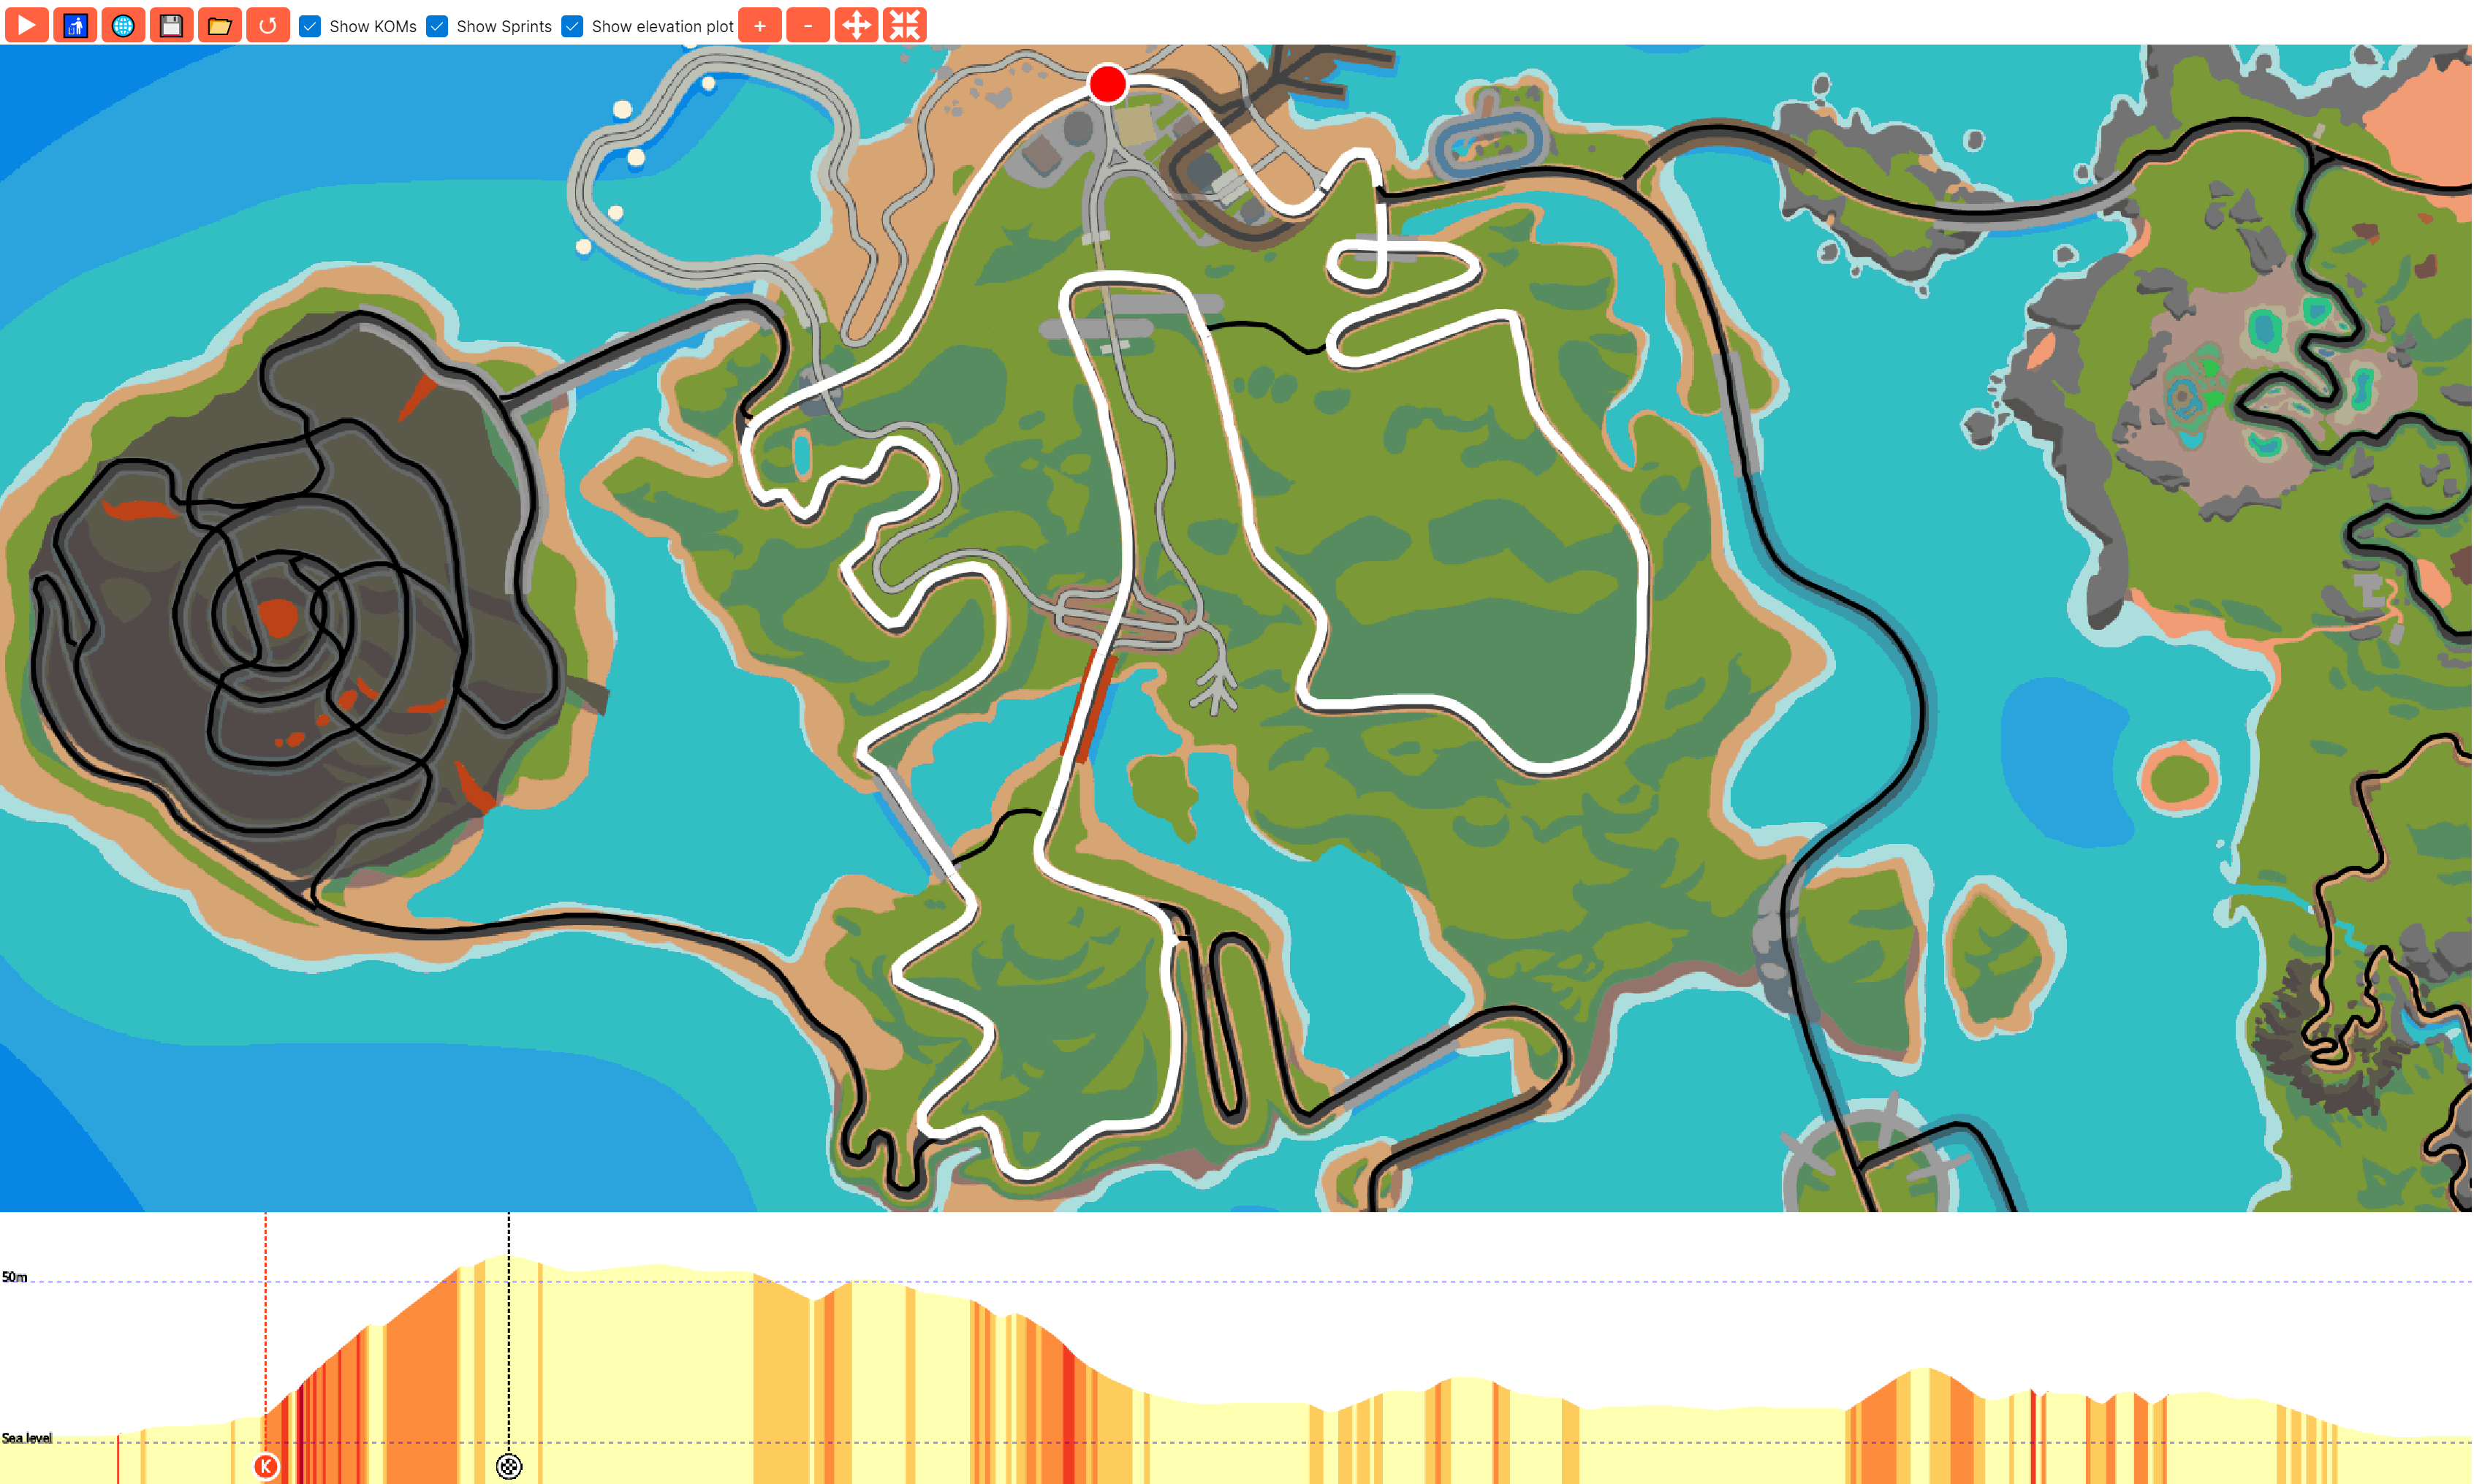
The profile will show the elevation in meters along the route as well as the grade for a particular section to give indications of how steep a particular section is. When you enable the “Show KOM / sprints” feature then these segments will also be indicated on the elevation profile.
RoadCaptain Runner
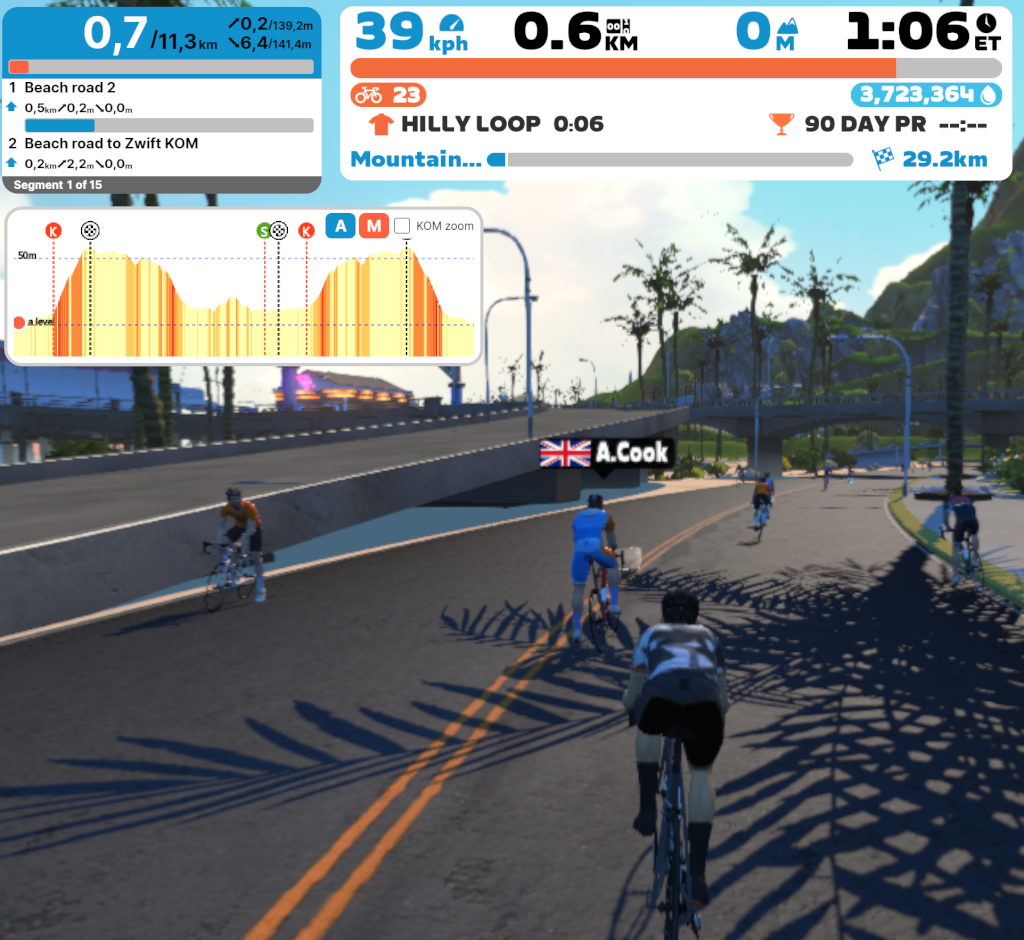
In RoadCaptain Runner you can bring up the elevation plot using the CTRL + M or META + M shortcut.
This will show an additional window that displays the elevation profile for the entire route:
For a more detailed view, switch the display to show the elevation over the next 500m by clicking the M button on the elevation profile:
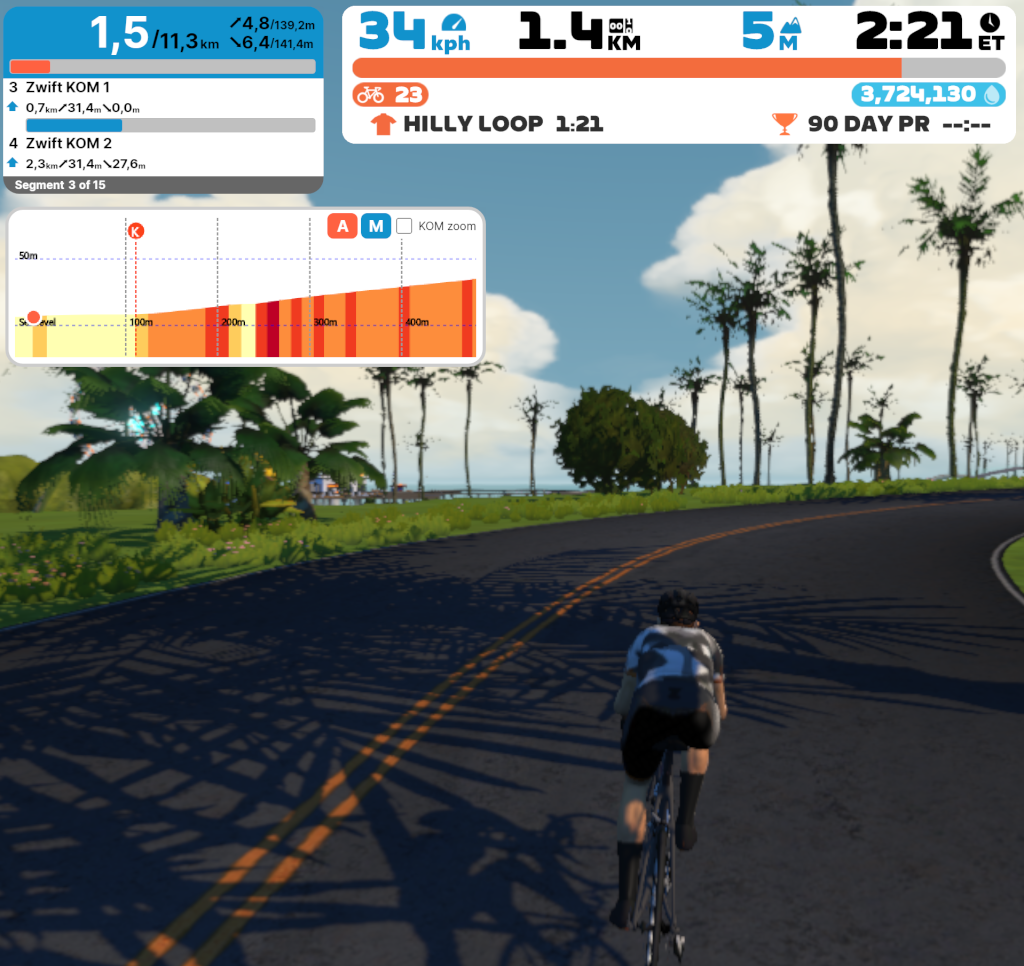
To help you pace your KOM attack, click the KOM zoom checkbox on the elevation profile. This shows the elevation for the KOM segment and displays your position on the segment:

You can leave the checkbox enabled and RoadCaptain will automatically switch between the KOM view and either the overall profile or the next 500m depending on what you’ve selected.